...
| Table of Contents |
|---|
...
Overview
...
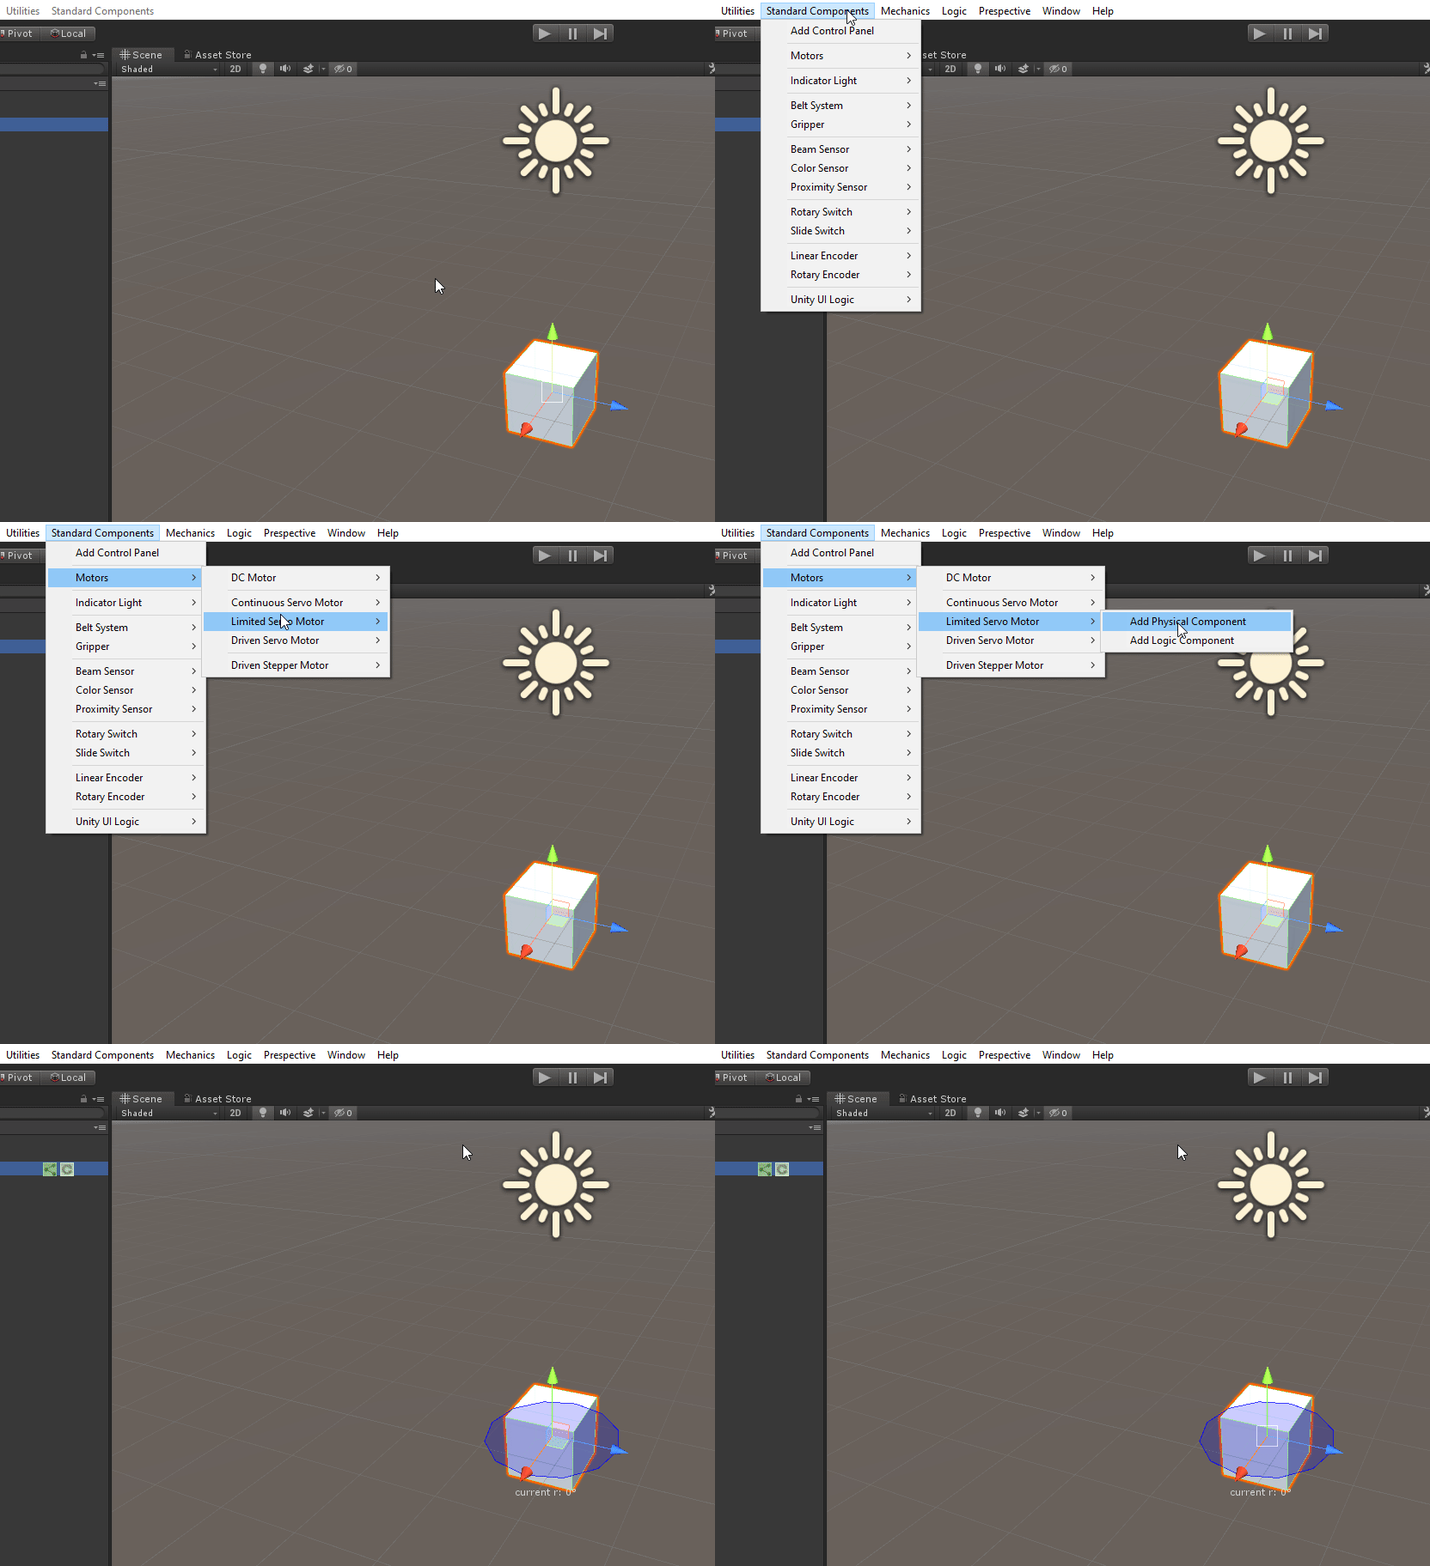
It will automatically be attached to a selected GameObject . Otherwise or otherwise it will create a new GameObject to attach to.
A Wheel Joint will be created automatically , this is as part of the component.
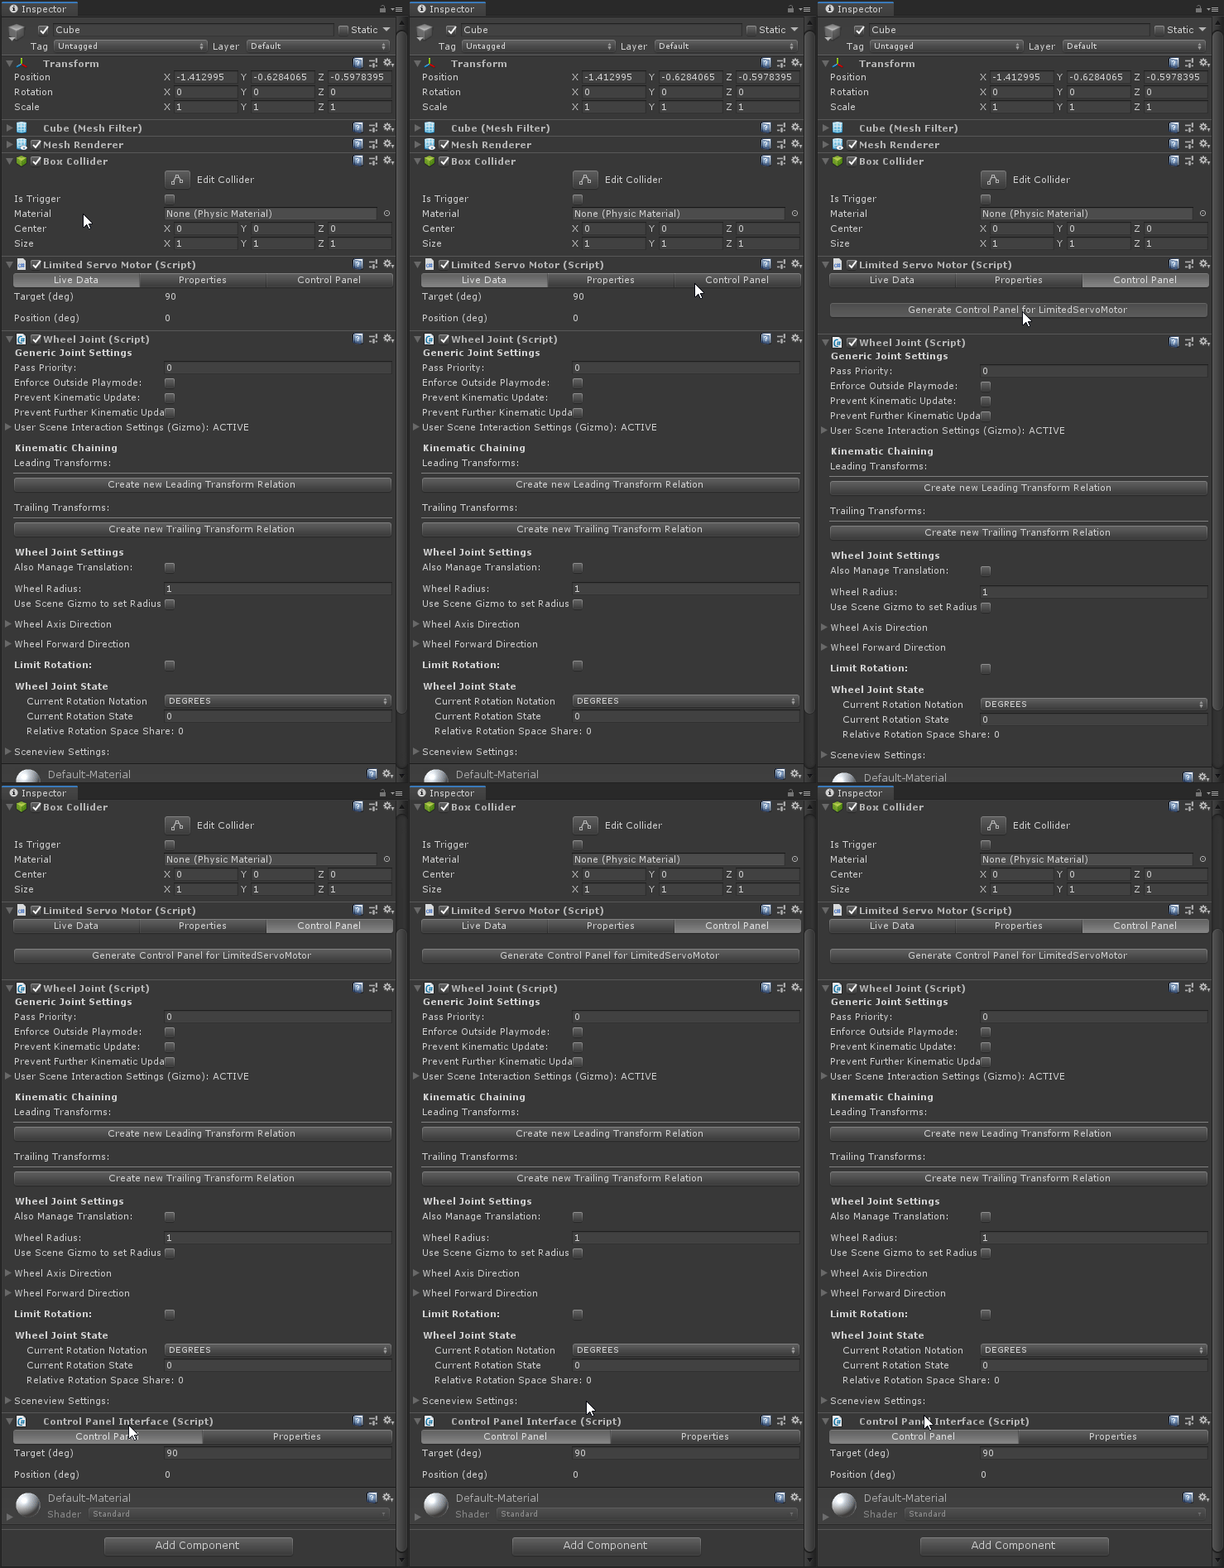
Selecting the newly created GameObject gives you the following menu in the Inspector.
...
Live Data |
|
|---|---|
Target (deg) | The target angle the Limited Servo Motor will try to rotate to. |
Positon (deg) | Displays the current rotation in degrees. |
...
Properties |
|
|---|---|
Wheel Joint | Sets the Wheel Joint the Limited Servo Motor will control. |
Rotation Range | Sets the angles between which the Limited Servo Motor accepts input. |
Seconds per 60 degrees | Sets the speed at which the Limited Servo Motor will try to rotate. |
Damping | Sets at what speed the Limited Servo Motor accelerates in order to tune overshoot. |
Dead Angle (deg) | Sets the tolerance at which the Limited Servo Motor detects input in degrees. |
0 deg Pulse Width (ms) | Sets what pulse width matches a 0-degree input. |
180 deg Pulse Width (ms) | Sets what pulse width matches a 180-degree input. |
Dead Band Width (ms) | Sets the tolerance at which the Limited Servo Motor detects input in milliseconds. |
...
Control Panel |
|
|---|---|
Generate Control Panel for LimitedServoMotor | Create a Control Panel for this component |
...
Add a Limited Servo Component to a GameObject, in this case a simple cube.
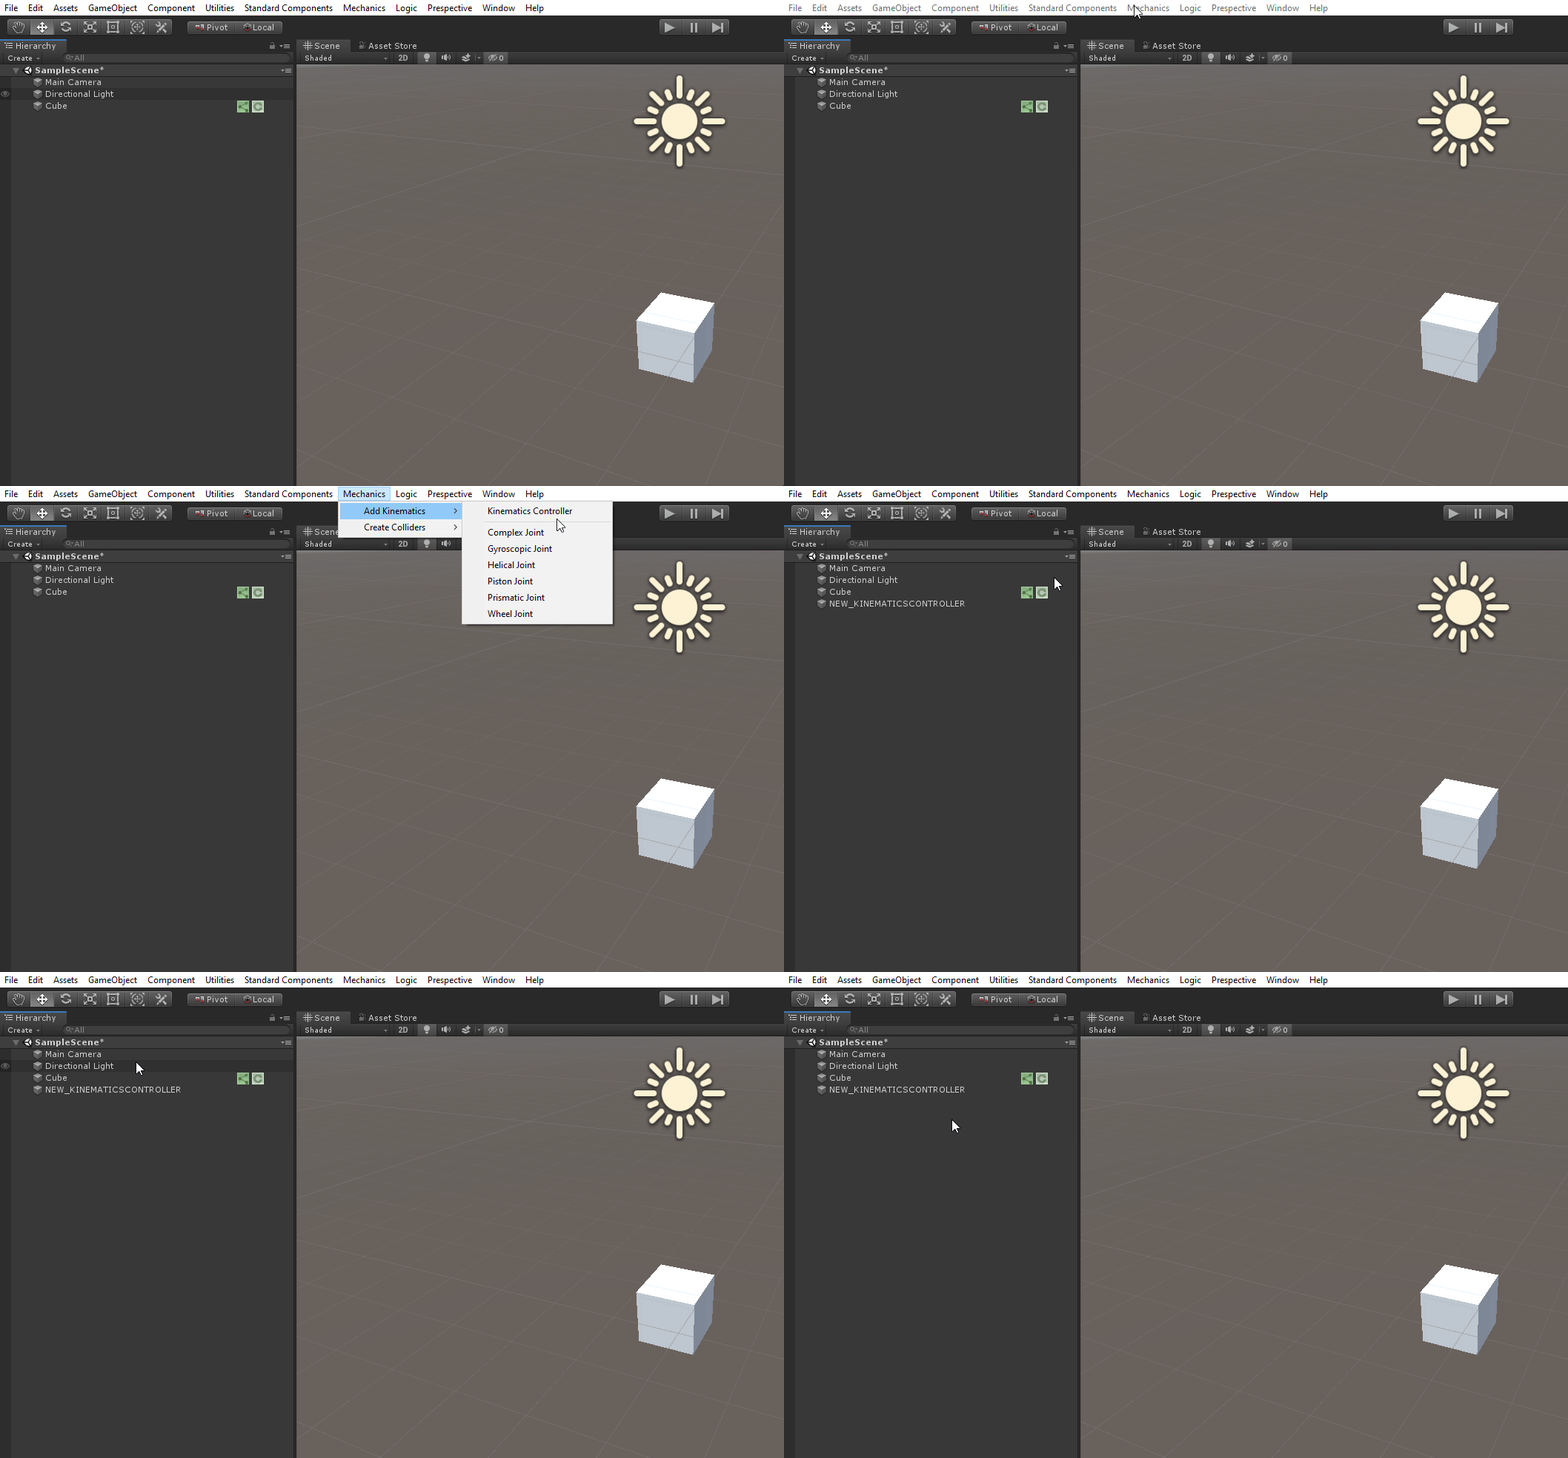
Add a Kinematics Controller,this can be found under Mechanics > Add Kinematics > Kinematics Controller. Make sure the Kinematic Controller is visible in the hierarchy and not connected to the Cube.
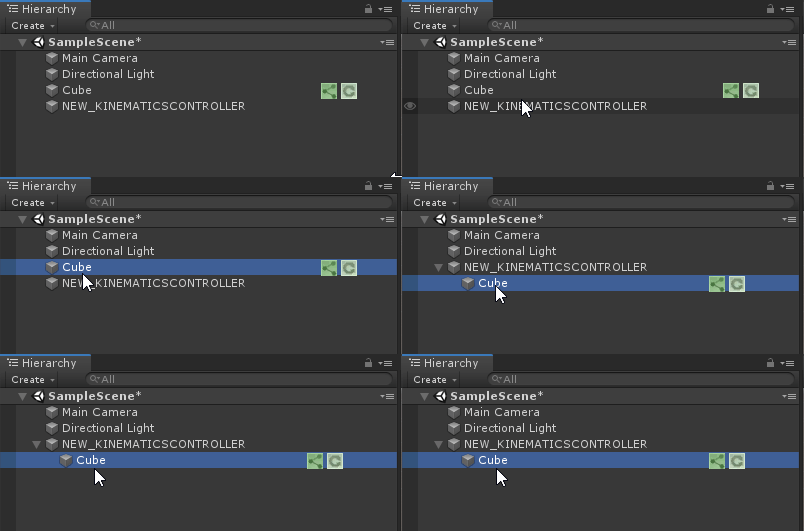
Make sure the Cube is parented under the Kinematic Controller in the Hierarchy.
Add a Control Panel
Set the Target
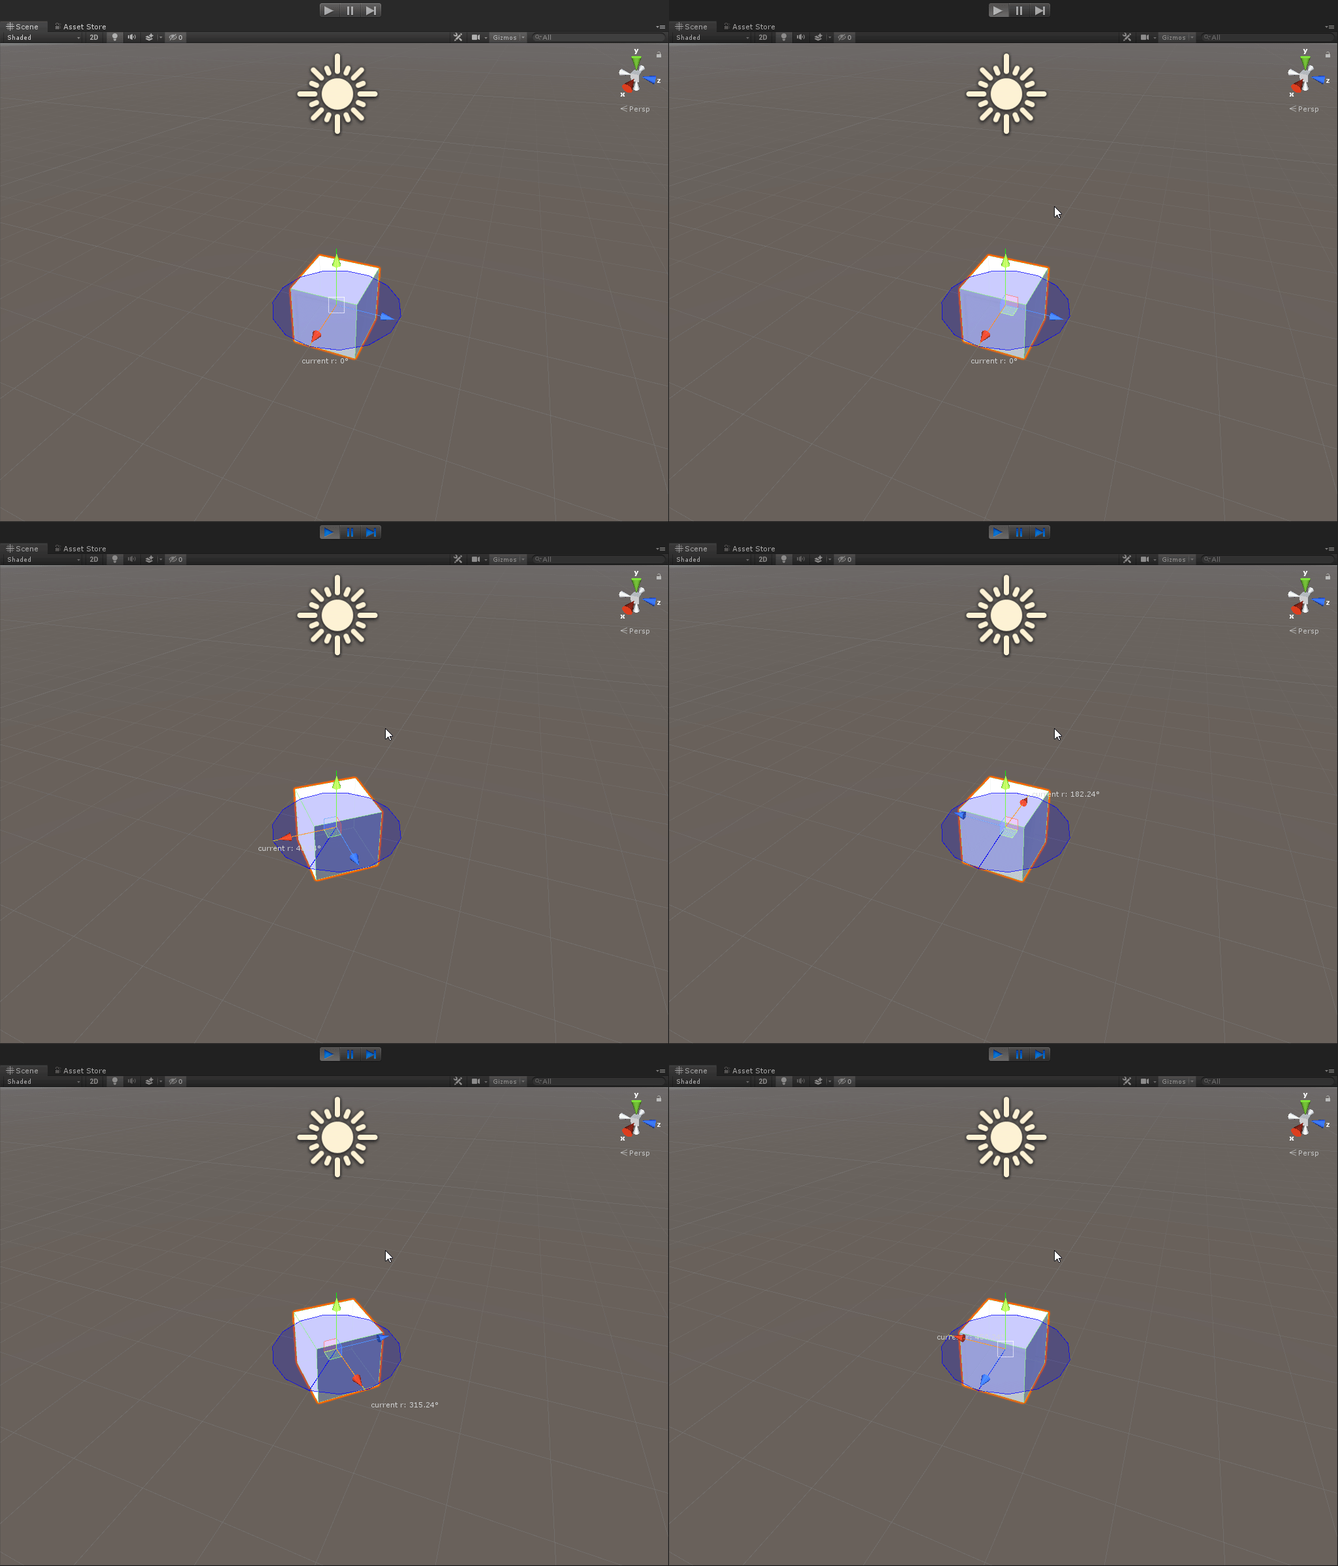
Press Play to see the rotation of the cube, controlled by the Limited Servo Motor
...
Properties |
|
|---|---|
Limited Servo Motor | Selects a Limited Servo Motor component you wish to connect to the PLC. |
...
In the PLC I/Opanel you can see the latest input and output values from the PLC.
...
PLC Settings and Debugging are general Logic Component settings. Look at the Logic Component Documentation (check link) for more details.
...
How to use - Logic Component
Look at the Logic Component Documentation (check link) for more details.
