...
It consists of two components; Physical and Logic. Both are needed to control the motor through a logic adapter (connecting the Rotary Encoder to an external controller through a Logic Simulator ). Adding a Control Panel gives you the option to control the encoder from the Unity scene.
...
It will automatically be attached to a selected GameObject . Otherwise or otherwise it will create a new GameObject to attach to.
A Wheel Joint will be created automatically as part of the component.
...
| Info |
|---|
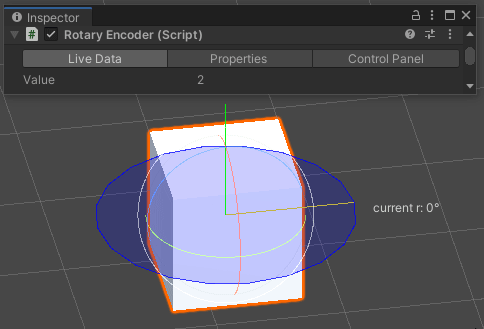
Important: The Rotary Encoder only functions in play mode and thus only shows data in play mode. |
...
Properties |
|
|---|---|
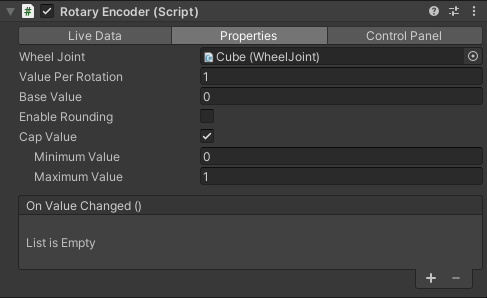
Wheel Joint | Assign the Wheel Joint you wish to use for the Rotary Encoder. |
Value Per Rotation | The value difference for a full rotation on the Wheel Joint. |
Base Value | The minimum value at zero position. |
Enable Rounding | Enables rounding the output to certain intervals. |
Cap Value | Enables the use of a minimum and maximum value. |
Minimum Value | The minimum value of the output value |
Maximum Value | The maximum value of the output value |
On Value Changed () | UnityEvent that is fired as soon as the output value changes. |
...
In the Control Paneltab you can generate a Control Panel for the Rotary Encoder.
...
Create a Rotary Encoder and setup its Wheel Joint.
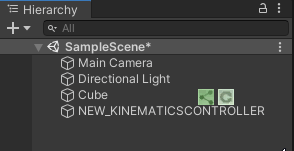
Add a Kinematics Controller,this can be found under Mechanics > Add Kinematics > Kinematics Controller to a seperate separate GameObject.
Make sure the Rotary Encoder is parented under the Kinematic Controller in the Hierarchy.
Set the desired settings for the Rotary Encoder.
Enter PlayMode and test whether the Rotary Encoder works.
...
Feature overview - Logic Component
...
These settings are general Logic Component settings. Look at the Logic Component Documentation for more details.
...
How to use - Logic Component
Look at the Logic Component Documentation (add link) for an example of how to connect a Rotary Encoder to an external controller.